A gallery wall that is thoughtfully designed is more than just decoration. It is a storytelling storytelling moment that adds depth and personality to your space. From showcasing family photos, fine art, or eclectic finds, here’s how to create a gallery wall that turns heads and reflects your unique style.
1. Choose the Right Space for Your Gallery Wall
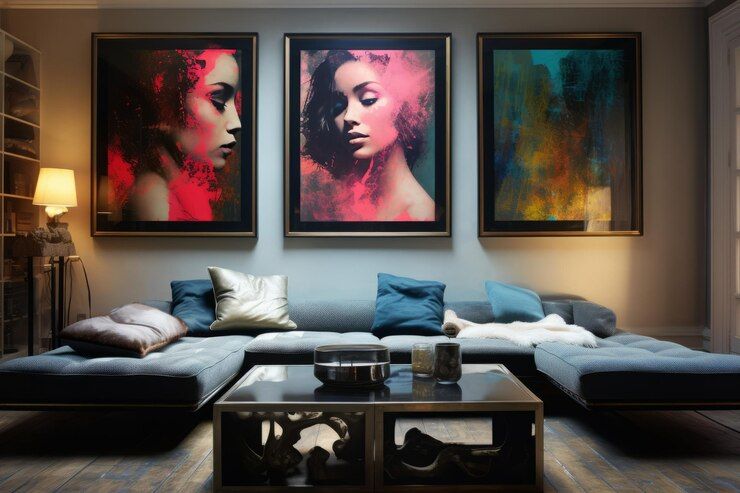
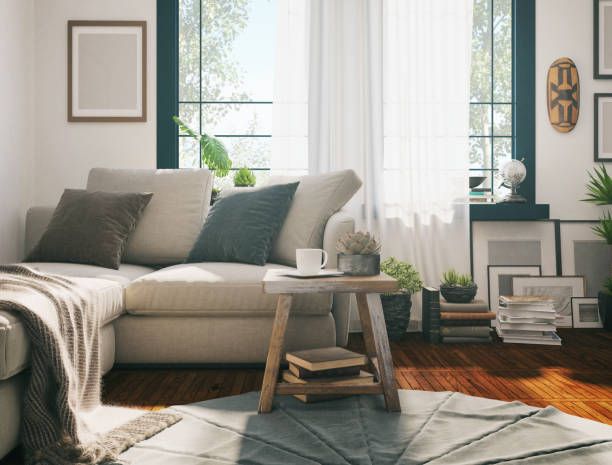
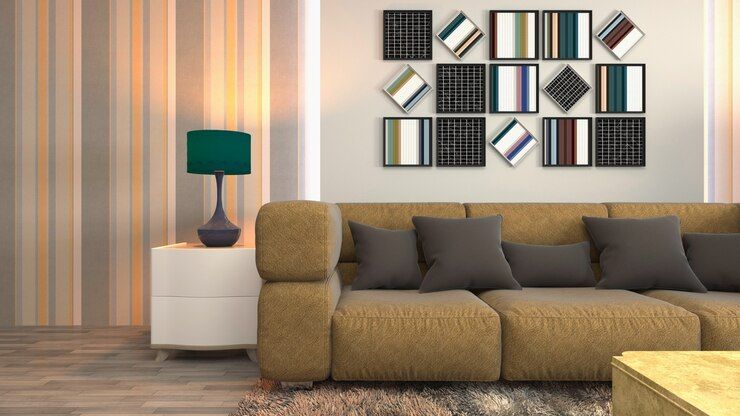
The first step in building a stunning gallery wall is choosing the right location. One of the most popular spots is the wall above your sofa, offering a balanced focal point in your living room. Other great options include the area surrounding your TV, a staircase wall, or an empty stretch near the entrance.
Wherever you place it, make sure the area has enough space to let your artwork breathe. The placement should naturally draw the eye without competing with other design elements.
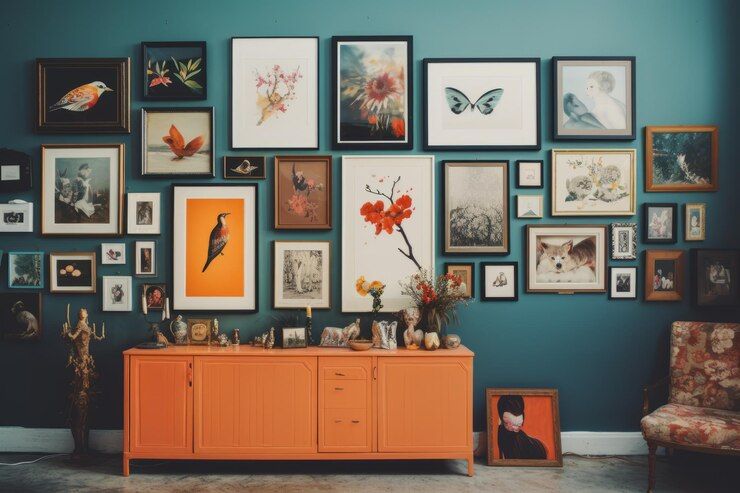
2. Pick a Theme or Color Palette
Consistency is essential for a polished gallery wall. Decide on a central theme, mood, or color palette before choosing artwork. Many people opt for black and white photography, abstract or minimalist line art, inspired nature prints, travel memories, or family portraits.
Inspirational quotes or typography can also add a unique, personal touch. Using a cohesive palette such as monochrome, or earth tones will help unify the look.
3. Plan the Layout Before You Hang
Proper planning prevents a messy end result. Lay your frames on the floor to experiment with layouts before hanging them. A grid layout gives a clean, modern, symmetrical feel, while a floor to ceiling frame arrangement creates a more artistic, free-form display.
If you're unsure, trace each frame onto paper, cut them out, and tape them to the wall. This helps you visualize spacing and placement. Leave about two to three inches between each frame to avoid clutter and maintain a clean, balanced appearance.
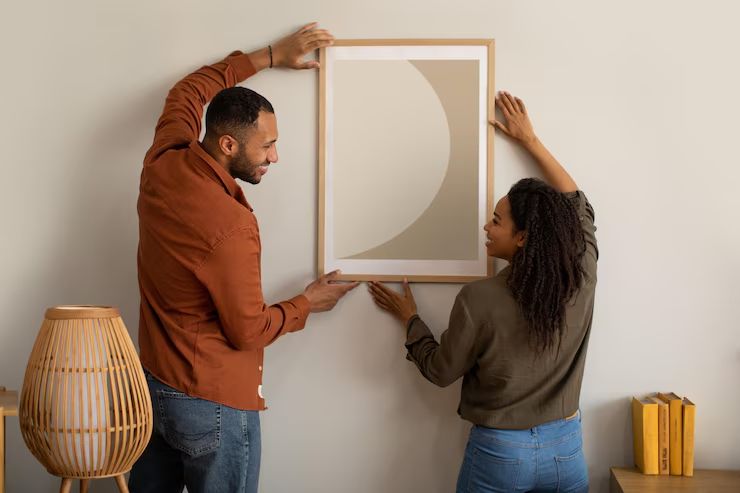
4. Hang with Precision for a Professional Finish
Start with the centerpiece. Use a tape measure, pencil, and level to ensure accurate placement. Mark the wall before inserting any hooks or nails.
Depending on frame weight and wall type, choose suitable hanging hardware like picture hooks or adhesive strips. Precision and secure mounting make a major difference in both appearance and longevity.
5. Add Lighting and Final Touches

Once your wall is set up, take a step back and assess its overall balance. Don’t hesitate to make small adjustments to improve symmetry or spacing. To elevate your gallery wall design, consider incorporating lighting elements such as picture lights, decorative wall fixtures, or adjustable floor lamps.
These options help highlight your artwork while adding warmth and dimension to the room. Good lighting is an often overlooked detail, but it plays a crucial role in enhancing the overall gallery wall aesthetic and creating a welcoming ambiance.